Good photographs can inspire feelings, conversations and journeys but when first starting out, photography can sometimes seem a tough nut to crack, but with practice and patience the results make the effort so worth it. The five tips that follow can be applied to any camera, from camera phones through to high-end mirrorless cameras, and everything in between.
The first tip is to get to know your equipment, understand what it does as well as what it doesn’t do! I would suggest getting to grips with the basics first and as you become comfortable with those you can start to learn more. The first three areas of photography fundamentals largely focus on how a camera creates an exposure or image. These are shutter speed, aperture, and ISO. The ISO is all about the sensitivity of your camera’s sensor to light, for now don’t worry too much about it. When you think of shutter speed, think movement – a fast shutter speed allows us to freeze movement in our photographs, great for capturing a bird in flight or a child running. A slow shutter speed enables us imply movement in our image – great for capturing a waterfall, seascape or the movement of clouds.

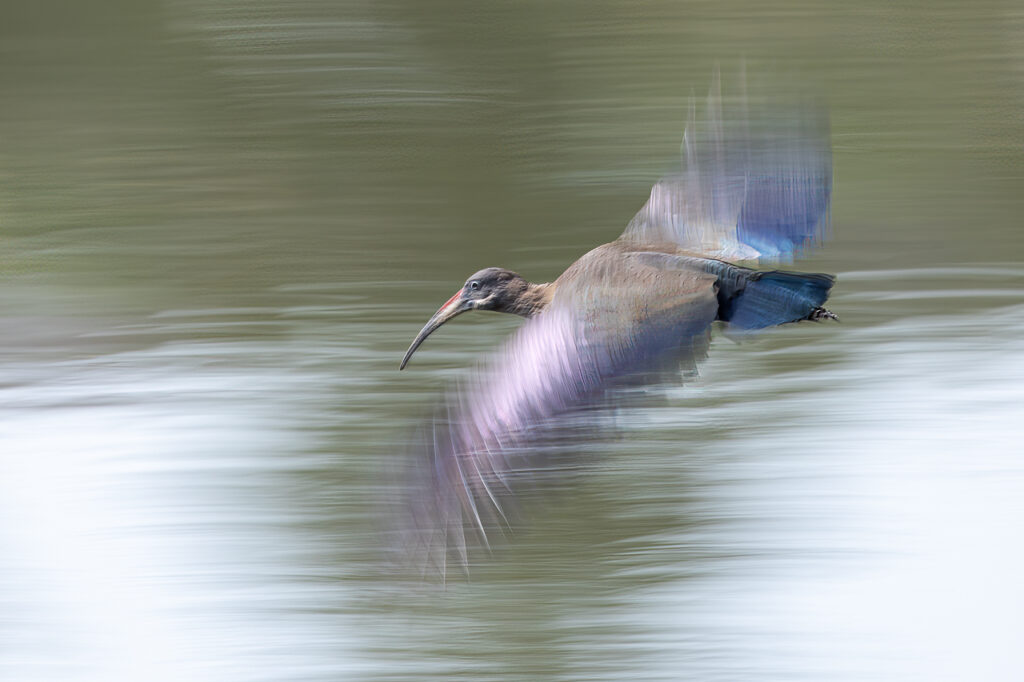
When you think of aperture, think about the amount of your image that’s in focus. This is known as depth of field. We can change how much of the image is in focus – both in front of, and behind our focus point (where the subject is) by changing the aperture of the lens. A large aperture number means more of your image will be in focus – great for landscapes. A small aperture number means that only small amount of your image will be in focus – great for portraits. Advances in camera technology means we can now change the shutter speed and aperture on these devices as well! By doing so we are able to more creatively control the images we create – great news!


I’m pretty sure if you look through the photos on your phone’s camera roll, the majority of them will have the subject in the middle, and if the horizon line is visible then it will also run along the centre of the image. I’m also pretty sure if there are photographs of pets or children then they will have been taken with the photographer standing upright and the camera pointing down towards the subject.
My second tip looks at perspective. Whatever we are trying to photograph, as photographers we should try to get our camera on the same level as our subject, eye level is best. For children and pets that will probably mean kneeling or even sometimes lying down! I can’t tell you the amount of strange looks I have received whilst lying on the floor somewhere photographing wildlife. The eye of our subject is also where you should be focusing when you take the photograph – by doing so you will create more intimate images and allow your viewers to connect with the subject.

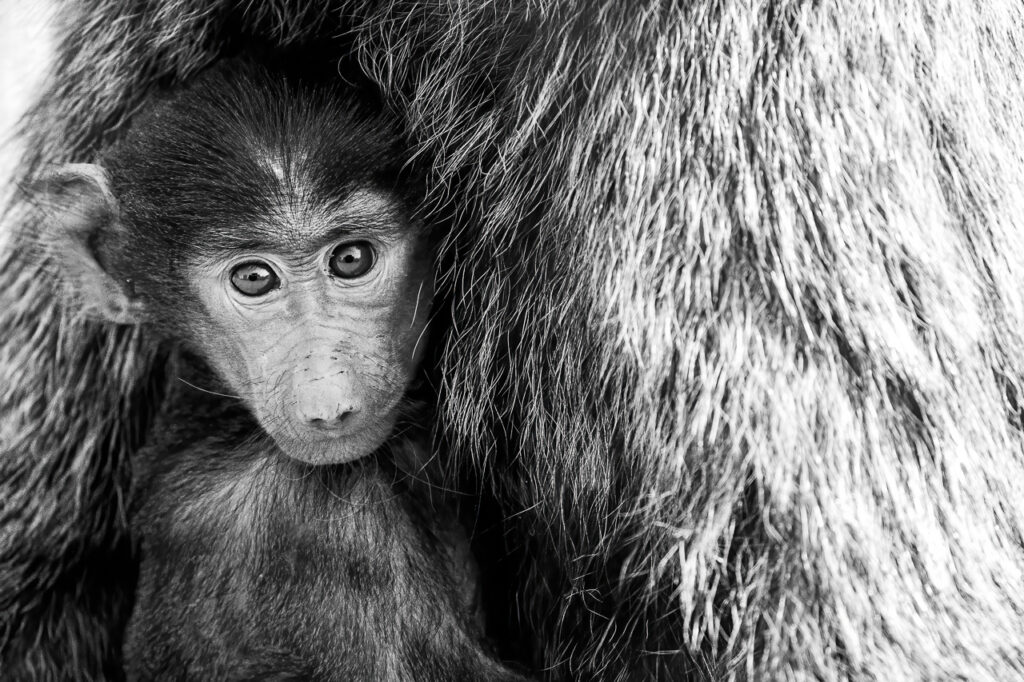
The third tip is about composition and framing – in other words where we place the subject in the image, and also what we do and don’t include in photograph. There are rules of composition but for now just remember do not place your subject in the middle as it will make the photograph static, instead place the subject slightly off to the left or right of the image. By doing so the image will look more dynamic, there should be a sense of space for you subject to move or look into. This also applies to the horizon line, don’t place it along the middle of the image as it will split the image in half, instead think what is more important, the sky or the foreground? If it it’s the sky then place the horizon 1/3 from the bottom of the image, by doing so the sky will dominate the image – think sunsets. If it’s the foreground then place the horizon 2/3 of the way up the image, so that the foreground dominates the photograph.
Framing is all about what elements we want to include in our photograph. We can change our framing by either changing our position as the photographer or using the zoom on our cameras and lenses. Tight framing around the subject will remove unwanted elements from our images and is often used for portraits, wider framing allows us to capture more of the scene around the subject and is great for landscapes. Often less is more, so initially keep your compositions simple with few elements in the frame.

The last couple of tips are easy ones – take lots of photographs! However, take your time to think about the photographs you’re creating. A final tip is to edit the photographs you create – by doing so you will learn more about the process of photography – it’s not just pressing a button! An awesome photographer, Henri Cartier Bresson famously once said that your first 10,000 photographs will be your worst. Whilst he was talking about photographs created with film cameras, I think it remains true even in the face of recent advances in camera technology. By creating each photograph, you will learn something new, whether that’s about your equipment, your subject, the light, or yourself – enjoy the journey!


Your explainations are priceless, Will! I’m a neophyte using my phone. Now i’m going to try and put your tip into practice…
Thank you very much
Thank you Nikky – let me know how you get on!
Very educative and insightful article right here, thanks much, iam definitely hooked for more!
You’re welcome – there will be more to come!
Thank you very much for the education and information.
Will use these tips.
You’re very welcome! Let me know how you get on…
Great tips for beginners as I am. Looking forward to learn how to use my gadget. Thanks!
You’re welcome, glad you found it useful.